Saturday, April 30, 2011

Chocolate Mint Cake

This was a hit! My sisters and brothers have been "begging" me to make it again!


Chocolate Mint Cake (Gluten-free, Dairy-free, Corn-free)
Adapted from Allrecipes.com

Cake:

  • 3 cups gluten-free flour
  • 2 cups sugar
  • 1/3 cup baking cocoa
  • 2 teaspoons baking soda
  • 1 teaspoon salt
  • 2 eggs
  • 1 cup milk (or water, I used goat)
  • 1 cup vegetable oil
  • 1 cup water
  • 1 teaspoon safe vanilla extract

Frosting and Filling:
Mint frosting
Chocolate glaze

1. In a mixing bowl, combine the first five ingredients. Add eggs, milk, oil, water and vanilla. Beat until smooth, about 2 minutes. Pour into 2 round pans. Bake at 375 degrees F for 15-20 minutes or until a toothpick inserted near the center comes out clean. Remove from pans to wire racks to cool completely.

2. Fill and frost the top with mint frosting, and lightly glaze with chocolate.


~ Hanunyah

Thursday, April 28, 2011

Poppyseed Cake

This is good! All the recipes I tried for poppyseed cake were either greasy or doughy. So I tweaked the Lemon Bundt Cake recipe. You may also make a few changes (indicated below) if you want lemon poppyseed cake.


Poppyseed Cake (Gluten-free, Dairy-free, Corn-free)


1 1/4 c. sugar
1/3 c. vegetable oil
2 eggs
1 tsp. safe vanilla extract
2 T. poppyseed
1 tsp. almond extract -or- lemon extract

2 cups gluten-free flour
1 tsp. guar gum (or xanthan gum)
1 1/2 tsp. baking soda
1/2 tsp. cream of tartar
1/2 tsp. salt
1/4 cup water -or- lemon juice
3/4 cup water (or milk)


1. Preheat oven to 350F degrees

2. In a large bowl, beat together the sugar, oil and eggs.  Add the extracts and poppyseeds and mix. Add the flour, guar gum, baking soda, cream of tartar, salt and 1 cup water (or 1/4 cup lemon juice and 3/4 cup water). Mix well, but don't over beat because the cake will sink. Pour the batter into a well greased bundt pan.


3. Bake at 350 degrees F for about 50 minutes or until it tests done.  Cool in the pan for 5 - 10 minutes.  Make sure the edges of the cake are loose, then turn it onto a rack to finish cooling.


~ Hanunyah


Linked to Gluten-Free Wednesdays by The Gluten-Free Homemaker

Tuesday, April 26, 2011

Chocolate Chip Cookies


I finally made CCCs. Since going GF my cousin said he hadn't tasted a good gluten-free chocolate chip cookie, until yesterday. These were a major hit! Oh, and I must mention, we aren't grinding flour anymore because we bought some through a co-op that is about the same price as grinding our own. And it is amazing flour! It's very, very, very fine - it's about the same as gluten flour but cheaper! I made these, Neapolatin Cookies, and Cinnamon Rolls (posting later), and they were all great!

*Update - August 5, 2011: These are good baked as cookies, but are way, way better baked as bars. It's easier, too - spread  the dough on a cookie sheet and bake. This way they are chewier, and the chocolate chips go to the bottom, so it's like a layer bar. 


Chocolate Chip Cookies (Gluten-free, Dairy-free, Corn-free)

1/2 cup shortening or lard
1/4 cup white sugar
3/4 cup brown sugar
1 egg
1 1/2 tsp. vanilla extract (make sure it's safe)
1 1/4 cups rice flour (or other GF flour)
1/2 tsp. salt
1/4 tsp. guar gum
1/2 tsp. baking soda + 3/4 tsp. cream of tartar (or 1 tsp. baking powder, if not corn-free)
6 oz. (1 cup) safe chocolate chips
Preheat oven to 350 degrees. In a large bowl, cream shortening with sugars until light 
and fluffy. Add egg and vanilla. Add flour, salt, guar gum, baking soda, and cream of tartar. Mix in chocolate chips. Drop dough by tablespoons on a greased cookie sheet. 

Bake 7-9 minutes or JUST UNTIL edges are light brown (unless you want crunchy, hard cookies). (The cookies WILL NOT look completely cooked when you pull them out of the oven). Let cookies cool on a wire baking rack or the cookie sheet for 5-10 minutes. This will allow cookies to retain their shape for eating.
~ Hanunyah


Linked to Gluten-Free Wednesdays by The Gluten-Free Homemaker and 
Shindig Saturday by Kim's Kandy Kreations


Sunday, April 24, 2011

"Horse Cookies"

Ok, by little brother was helping me. I was making Fruit Bars, and I decided to add an apple. Then my brother saw me doing that, and said "carrot" (in his own language :) ). Oh you want me to add a carrot? So, I did. After I made them, my sister tasted one and said, "This tastes like a horse cookie"! Everyone liked them though!

Thursday, April 21, 2011

Chocolate Almond Layer Cake

This was a hit! The only thing I would do different next time is use less frosting, as it was too sweet.


     Also . . . this is a "Hanunyah Creation" (I didn't follow a recipe, as always :) ). That's where my blog title came from, because I'm known to never follow a recipe exactly. Anyways, how this cake came about . . . We had no vanilla, so I used almond extract in a yellow cake recipe, and added cocoa powder to the other layer. And the coconut? Well, that was just to make it a bit fancier looking, and to cover up my mistakes :). This was the first layer cake I have done (I have made more layer cakes since I made this one, I'll have to post later).

Sorry for the not very exact measurements . . . sometimes I make things and it's just "dump and mix until it looks right".

Chocolate Almond Layer Cake (Gluten-free, Dairy-free, Corn-free)


Cake:


1/2 cup lard, shortening or oil
1 1/2 cups sugar
3 eggs
2 1/4 cups gluten-free flour (I use rice)
1 teaspoon salt
1 1/2 teaspoons baking soda + 

2 teaspoons cream of tartar
1 1/4 cups milk (I use goat)
1 teaspoon almond extract (somewhere around 1 teaspoon, I don't know exactly how much I used)

Frosting:
Powdered sugar
a few tablespoons cocoa
almond extract (1/2 teaspoon would be good)
water

1. Preheat the oven to 350°F. Prepare one 9x13 pan or two 9-inch round pans (I used two 11-inch round pans) by greasing them thoroughly.

2. Mix the ingredients together in the order they're listed - creaming the softened butter and sugar first, then adding the eggs, flour, salt, baking powder, and finally the liquids. Mix well. 

Immediately pour into the prepared pans and bake for 25-30 minutes, or until the tops spring back slightly when pressed.
Let cool on wire racks for at least 15 minutes, then flip the cakes out of the pans and cool completely.

3. In a bowl, combine all ingredients for the frosting. Put one of the layers on a plate, and frost the top of it. Place the second layer on that, and finish frosting. Garnish if desired with almonds, coconut, chocolate, etc.


~ Hanunyah

Tuesday, April 19, 2011

Lemon Oat Bars

Yum! These were really good. They're a nice combination of sweet, salty flavor, combined with lemon and a soft, crumbly, oat topping.
      I made a double batch the first time I made them (yesterday), and most of them were gone. So I made another batch so I could take some to the neighbor's/friend's place - they were a hit there as well. The second time I made them I used a 10x15" pan (instead of a 9x13"), and used mostly brown sugar instead of white. They were both good, not much of a difference. The pan size just depends on which you prefer, a really tall bar, or a thinner bar. If this recipe makes too much for you, you could either freeze some or cut the batch in half.


Lemon Oat Bars (Gluten-free, Dairy-free, Corn-free)
Adapted from a Betty Crocker Cookie Book.


Filling:
4 eggs
2 cups brown sugar
2 tsp. vanilla
1/4 cup GF flour
1/2 tsp. baking soda
1/2 tsp. cream of tartar
1/2 tsp. salt
1/2 cup lemon juice


Crust & Topping:
2 1/2 cups GF flour (I used rice)
1 cup oats (I used quick)
1/2 cup sugar (brown or white)
1 cup lard or shortening
1/2 teaspoon baking soda
1/2 teaspoon salt


1. Preheat oven to 375F degrees. Coat an 9x13" or 10x15" pan with non-stick cooking spray.


2. Mix all filling ingredients in a bowl until well mixed; set aside. Mix all remaining ingredients in a large bowl until crumbly (a fork is good for this). 


3. Press half of the crumbly mixture into prepared pan; bake about 10 to 12 minutes or until set. Spread lemon mixture over baked crust. Sprinkle remaining crumbly mixture over the lemon mixture, press down gently. Bake about 20 minutes or until the top is golden brown and center is set but soft. Cool completely. Cut and serve.


~ Hanunyah


Linked to Gluten-Free Wednesdays by The Gluten-Free Homemaker, 

Sunday, April 17, 2011

Banana Bread with Crunchy Oat Streusel Topping

This was good, especially since it has an extra kick with pumpkin pie spice (cinnamon, nutmeg, ginger). I made them in mini loaves and froze some.


Banana Bread with Crunchy Oat Streusel Topping (Gluten-free, Dairy-free, Corn-free)
Adapted from AllRecipes.com


Topping:

  • 1/8 cup (2 tablespoons) lard
  • 1/4 cup rice flour
  • 1/8 cup (2 tablespoons) packed brown sugar
  • 1/2 teaspoon ground cinnamon
  • 1/4 cup quick cooking oats

Bread:
  • 1 1/4 cups white sugar
  • 1/2 cup lard or oil
  • 2 eggs
  • 3 ripe bananas, mashed
  • 1/2 cup water
  • 1 teaspoon vanilla extract
  • 2 1/2 cups rice flour
  • 2 teaspoons pumpkin pie spice
  • 1 teaspoon baking soda
  • 1 teaspoon cream of tartar
  • 1/2 teaspoon ground cinnamon
  • 1 cup chopped nuts (optional, I didn't use them)

  • 1. Preheat an oven to 350 degrees F (175 degrees C). Grease 2 loaf pans, 8 1/2 x 4 1/2 inches.

  • To make the streusel topping, mix all ingredients in a bowl until crumbly. Set aside.

  • 2. Cream the sugar and butter together in a bowl, and stir in the eggs. Add the bananas, water, and vanilla extract, and stir until the mixture is well blended. Beat in the flour, pumpkin pie spice, baking powder, cinnamon, and nuts, if desired.

  • Scoop the batter into the prepared loaf pans. Sprinkle the tops with the streusel topping.

  • 3. Bake in the preheated oven for 1 hour and 15 minutes, until the loaves have risen and the topping is browned. Let the banana bread cool in the pans for 5 minutes before turning out onto a wire rack to finish cooling.

Now, I have a picture, but since I need to post more I figured I should just put this up real quick, because the picture is on the other computer.

~ Hanunyah

Sunday, April 10, 2011

Chocolate Peanut Butter Brownies

I made these for the first time on Tuesday, and they were a hit! I was in the kitchen for 7 hours that day!! Obviously, I made a lot more than just these brownies :). I made some other recipes I haven't posted yet, so I'll post those later, Lord willing.


This recipe was given to me from some magazine (I changed the recipe a lot when I made it, though).

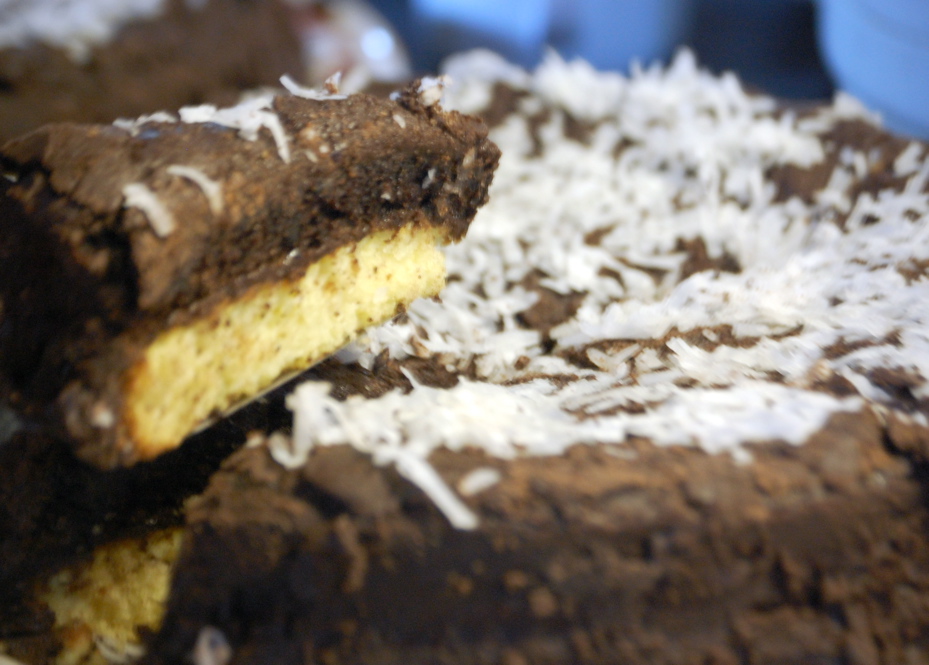
Chocolate Peanut Butter Brownies (Gluten-free, Dairy-free, Corn-free)


1 cup oil
1 cup cocoa (I used 3/4 cup dark cocoa)

2 cups sugar (I used brown sugar for about 1/2 of it)
4 eggs
2 teaspoons vanilla extract (we didn't have any, so I just omitted it)

1 1/3 cup GF flour (I used rice)
1 teaspoon guar gum
1 teaspoon baking soda
1 teaspoon cream of tartar
1 teaspoon salt
1/2 cup peanut butter

Preheat oven to 350F. Grease an 9x13" baking pan. Dust with rice flour.

Beat together oil, cocoa, sugar, eggs and vanilla. Stir in flour, guar gum, baking soda, cream of tartar and salt until well combined.
       Pour batter into prepared pan. Dollop peanut butter onto top of batter. Gently swirl peanut butter into batter with a knife or spatula. Bake 25 minutes, or until a knife inserted into the middle of the pan comes out clean. If batter remains on knife, continue baking in 3 minute increments until done. Let cool completely before slicing into squares.

~ Hanunyah

new design + name

As of 1-3-12: I've re-named my blog name (which used to be "Hanunyah's Sweet Creations") to "Ranch Girl's Sweets 'N' Treats". "Sweet Creations" is a pretty common name, so I figured I'd change it to something a little different ;). My URL is still the same, though.

Also, a big thanks goes to my older sister (@ CountryGirlWebDesign.com) who has re-designed my blog and fixed-up all of the HTML. So, I hope you enjoy the new layout!